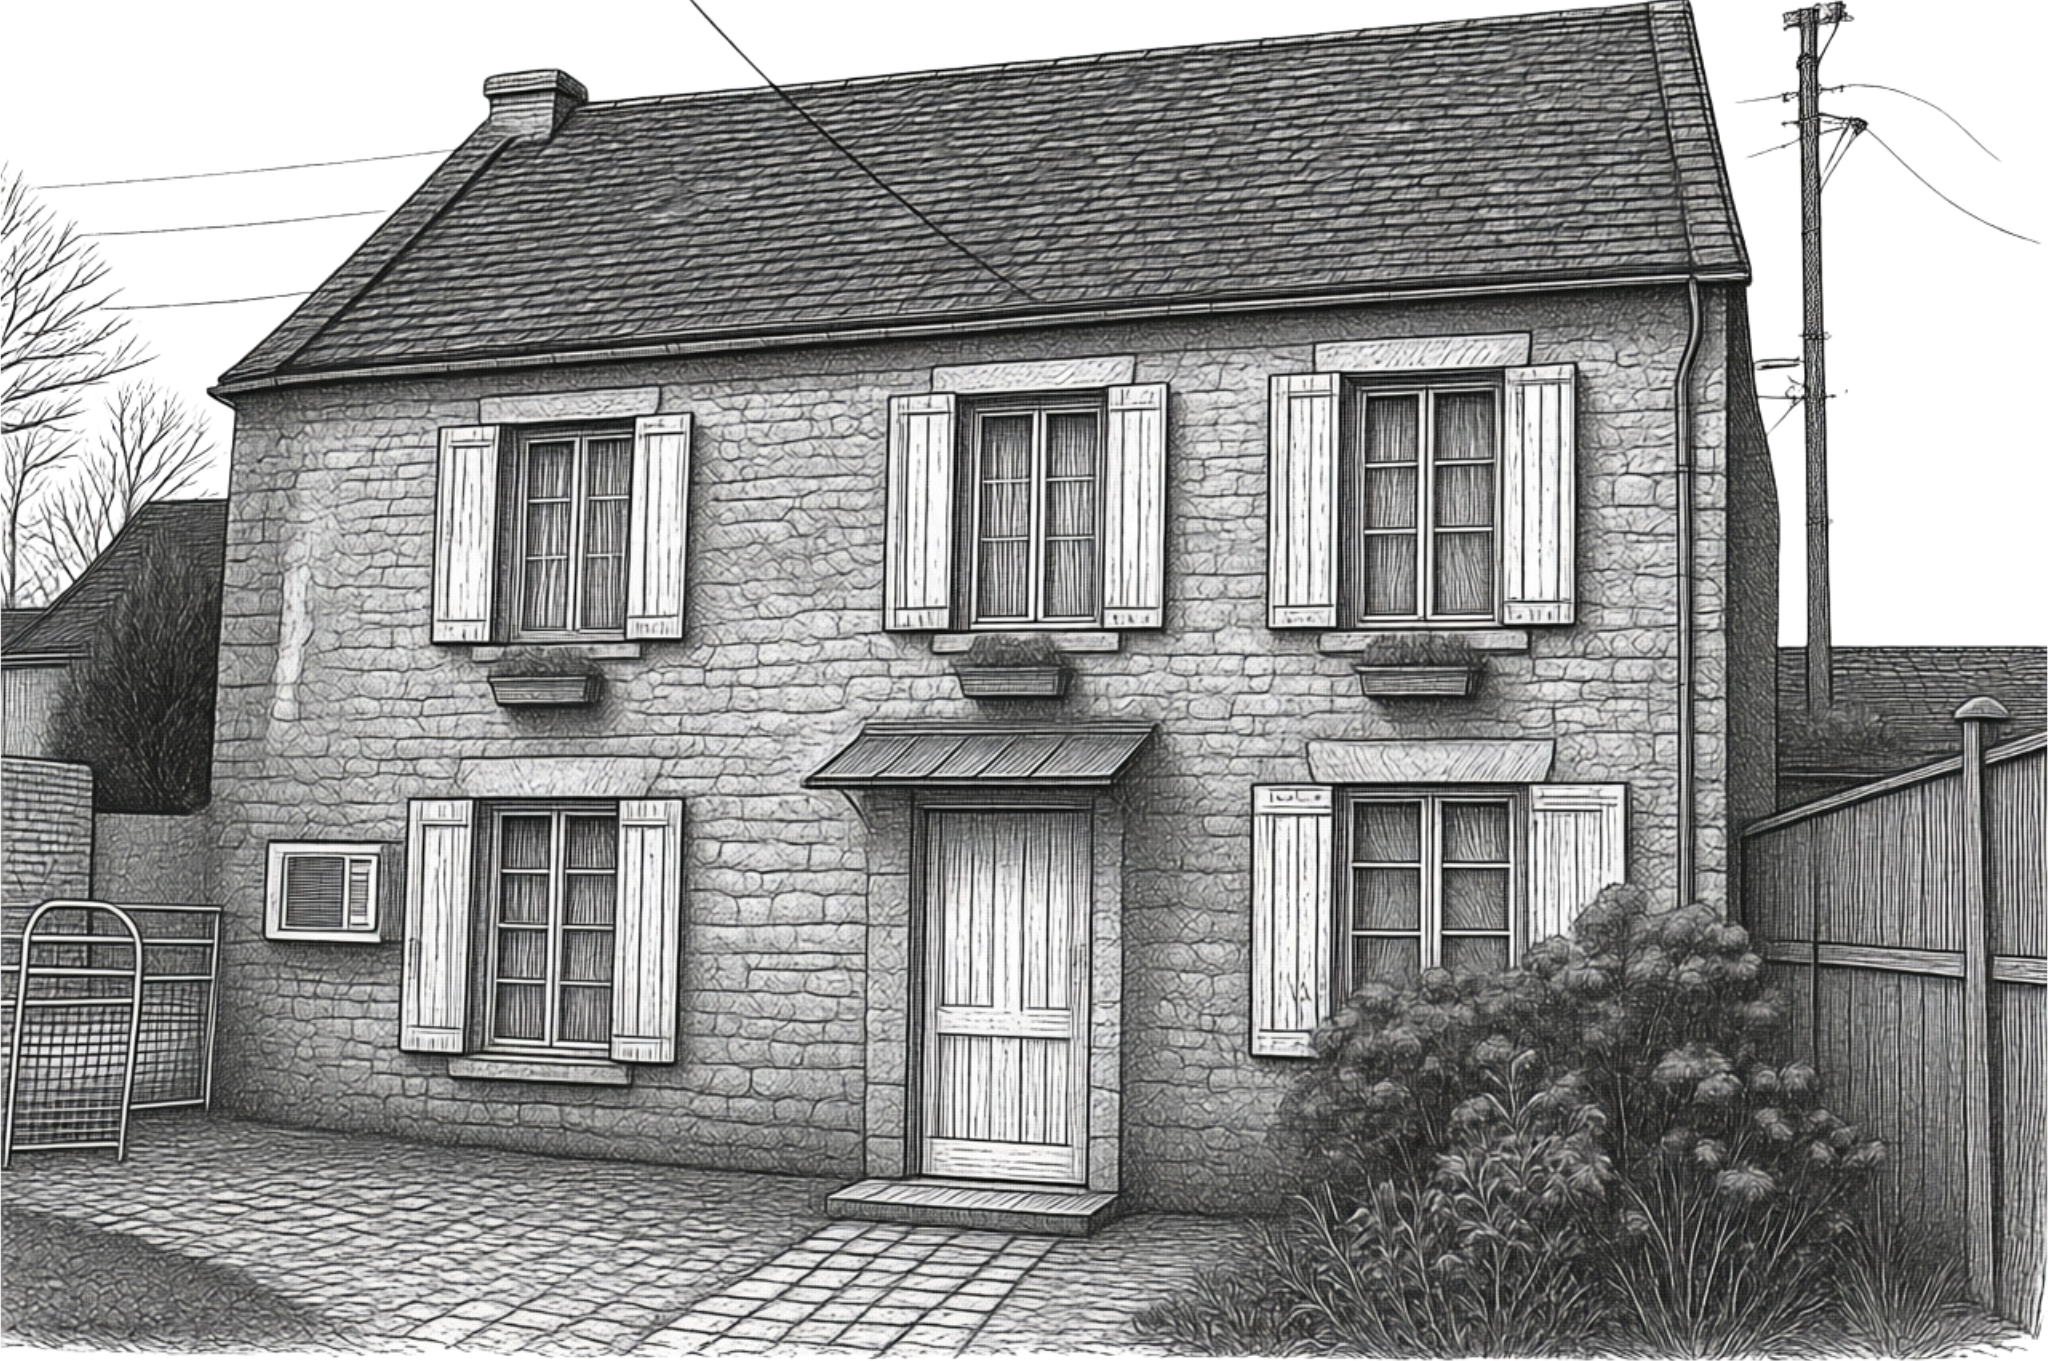
Measuring old stone window openings
Measuring old stone windows for replacement with modern PVC windows requires careful, precise work to ensure good fit, weatherproofing, and preservation of the stone opening. This is what you should do in an ideal world.
Follow these step-by-step instructions and tips.
Tools you’ll need
Tape measure (2–5 m / 6–16 ft), steel if possible
Spirit level (at least 24 in / 60 cm)
Straightedge or long ruler
Pencil or chalk
Notepad or measurement sheet
Caliper or small ruler for jamb/stop thickness
Camera or phone to photograph details
Sealant depth gauge or probe (optional)
Ladder and safety equipment as needed
Preliminary checks
Inspect the opening: Note if the stone reveals, lintel, sill, or jambs are damaged, crumbling, or out of square. Photograph any irregularities and measure them later.
Decide installation method: Will you install the PVC frame against the existing stone inner face, build a subframe, or use a mounting plate? Your method affects which dimensions you prioritize.
Determine intended finish: Will you keep the stone reveal visible, add plaster, or use a trim? This influences the frame size relative to the opening.
Measuring steps Measure width and height in three places each:
Width — Bottom: Measure from inside face of left stone jamb to inside face of right stone jamb at the sill level. Record to the nearest 1/8 in or 1 mm.
Width — Middle: Measure at mid-height of the opening between the same faces.
Width — Top: Measure at the lintel level between the same faces. Record all three. If they differ, the smallest measurement becomes your reference for maximum window width (you will later add allowances for reveals/seals).
Measure height in three places:
Height — Left: Measure from the underside of the lintel to the top of the sill or to the finished floor/room level, depending on how the window sits.
Height — Center: Measure from lintel underside to sill top at mid-width.
Height — Right: Same at the opposite jamb. Again record all three. Use the smallest height for ordering the new unit, adjusting for sill thickness or subframe as needed.
Check diagonal/ squareness:
Measure both diagonals (top-left to bottom-right and top-right to bottom-left). If diagonals differ significantly (more than about 6–12 mm / 1/4–1/2 in for small windows; more tolerance on very large openings), the opening is out of square. Note the amount and where it’s largest.
Measure reveal and jamb depth:
Measure the depth from the interior face (where the new frame will sit) to the exterior face of the stone. Record at top, middle, and bottom. This affects frame depth selection and insulation/finishing details.
Measure the thickness of lintel and sill projections, and whether the sill projects beyond the stone face.
Note sill level and drainage:
Measure the sill profile and slope. Is there a drip, and how much does it project? Ensure the new sill will maintain water shedding.
Record external ground/path level relative to sill—this affects exterior finish and threshold design.
Measure frame and stop positions (if removing old frame):
If an old wooden or metal frame exists and you plan to remove it, measure from stone face to face across any existing stops or rabbets. Photograph and note screw/anchor positions.
Allowance and tolerances
New PVC frames are typically manufactured to fit the smallest width and height measured minus a fitting clearance. Typical internal clearance (reveal-to-frame) might be 6–12 mm (1/4–1/2 in) total (3–6 mm per side) for plaster and foam sealant. Confirm with your window manufacturer/installer for exact tolerances.
If the opening is uneven, plan to pack and shim during installation: note where packing will be needed (e.g., larger gaps at certain points).
For very irregular or very old stone openings, consider ordering a slightly smaller unit and using a tailored subframe or ply/insulation to create a flat, plumb, square surface.
Special considerations for old stone
Stone can be irregular, soft, or crumbly. Avoid driving heavy fixings into weakened stone—consider resin anchors into sound backing, stainless steel anchors into mortar joints, or using a timber or metal subframe anchored to stable points.
Protect historic stone: measure and photograph existing moldings and reveals if they will be retained. Sometimes cut-back or trimming is needed—document exact locations.
Thermal bridging: measure reveal depth and plan for insulation and sealing details to avoid cold bridges between PVC frame and stone.
External weathering: ensure the new window sill and flashing align
What sets us apart isn’t just our process—it’s the intention behind it. We take time to understand, explore, and renovate with purpose at every turn.